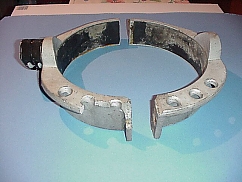
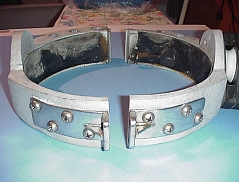
Here is an interesting problem that doesn’t necessarily have to be expensive to fix. You have a casting that obviously has to be replaced but you would like to salvage the hardware, which may be custom made and difficult to replace. But no matter what you’ve tried, you just can’t get the fastenings loose. Time and corrosion have done their worst.
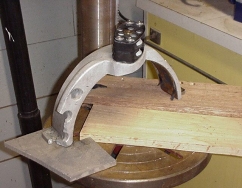
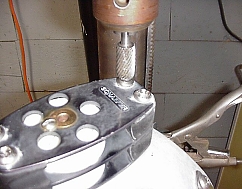
A drill press in this instance is a great help. It is important to level the piece to be worked on. We like to use a tool called a Bull Nosed Nicholson Burr, which will grind down the Phillips head screw into a bowl like shape. This will help you find the center for the next step. Note: Be mindful of spindle speeds and use good quality bits.
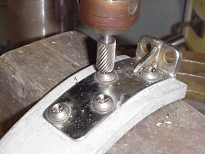
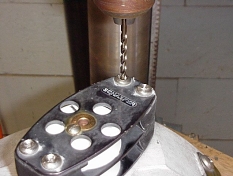
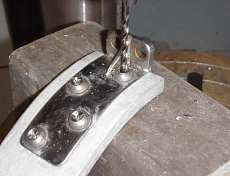
The next step is to drill down slightly past the surface of the work with a drill bit that is 1/32 smaller than the bolt size (eg. ¼ thread use 7/32 bit and 5/16 thread use 9/32 bit)
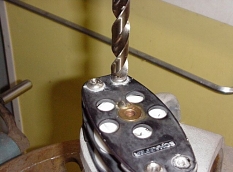
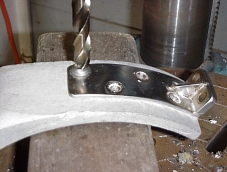
Using a ½ drill bit on the bowled out screw head you will find it will snap off quite nicely at the shoulder of the screw leaving you with salvaged hardware to be cleaned and reconditioned.
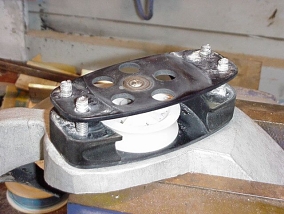
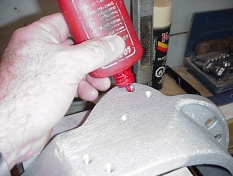
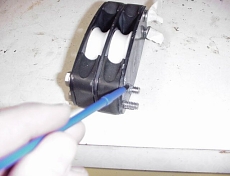
You have predrilled and tapped all the holes and sent the new casting out for anodizing and now it’s time to put it all back together. And you’ve decided that you never want to do this again. So to retard the forces of time and corrosion we recommend a little added step other than slapping on a bunch of locktite and cranking down the bolts. When you are applying the locktite try to get it into the lower two thirds of the tapped hole and leave the surface end dry. Then using some antiseize compound and a small paint brush (like the kids use) apply it to the upper one third of the fastening.
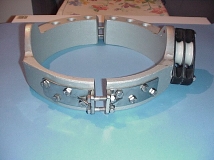
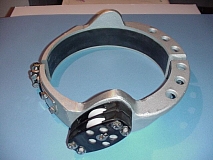
END RESULT
FINISHED PRODUCT
Final Thoughts
You will notice that we used Hex Head bolts to reassemble the Collar. There were a number of reasons for this. Firstly each bolt had to be ground down to the correct length, which is very common when you are assembling to castings and Hex Heads are easier to clamp. Secondly, if for some reason this had to be disassembled, in the future, you would get a lot more leverage with a socket wrench than a screwdriver
Time to Reassemble
Fair Leads
Mike Quill
|
|
|
|
|
MQYR 2017
